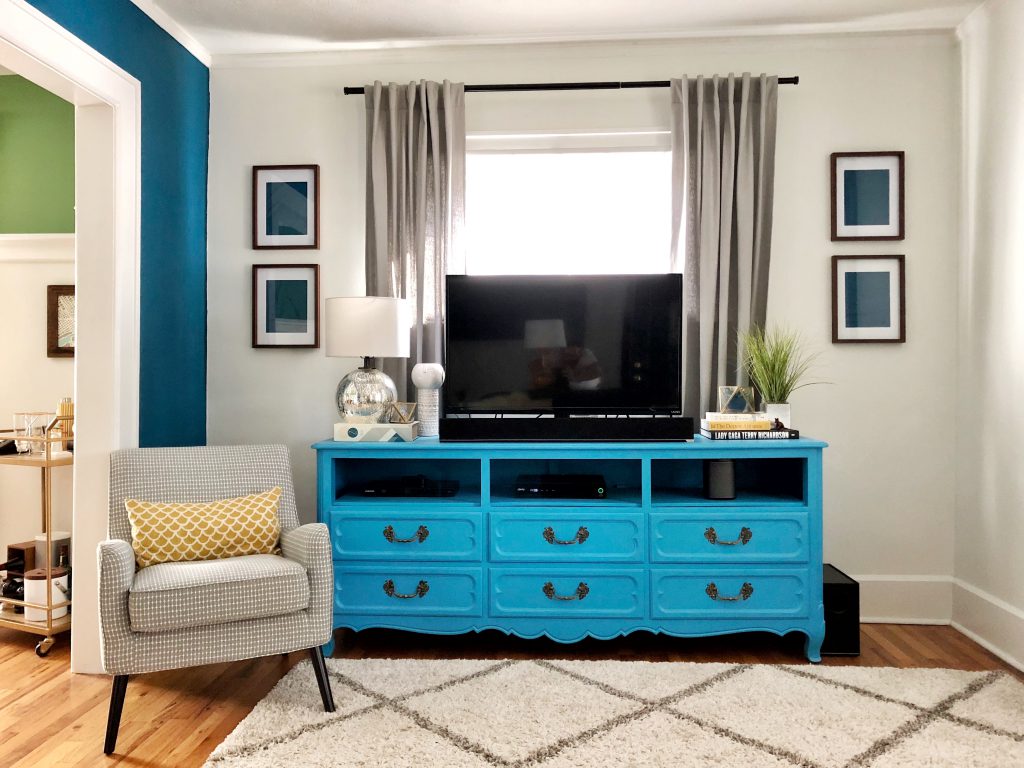
Instead of buying a new TV stand, I turned an old dresser into one. By making my own, I could pick out the perfect dresser and make it into a fun and unique piece of furniture that represented my style. Plus, with a few modifications, a reimagined dresser is really functional. The lower drawers offer enough space to store DVDs, records, board games, and everything else out of sight. And, by removing the top drawers and adding a shelf, all the electronics are hidden but still accessible with a remote. This was my first furniture transportation and largest DIY project. While a large project, it wasn’t that difficult! To this day, it is my favorite DIY and one of my favorite pieces of furniture in my home!
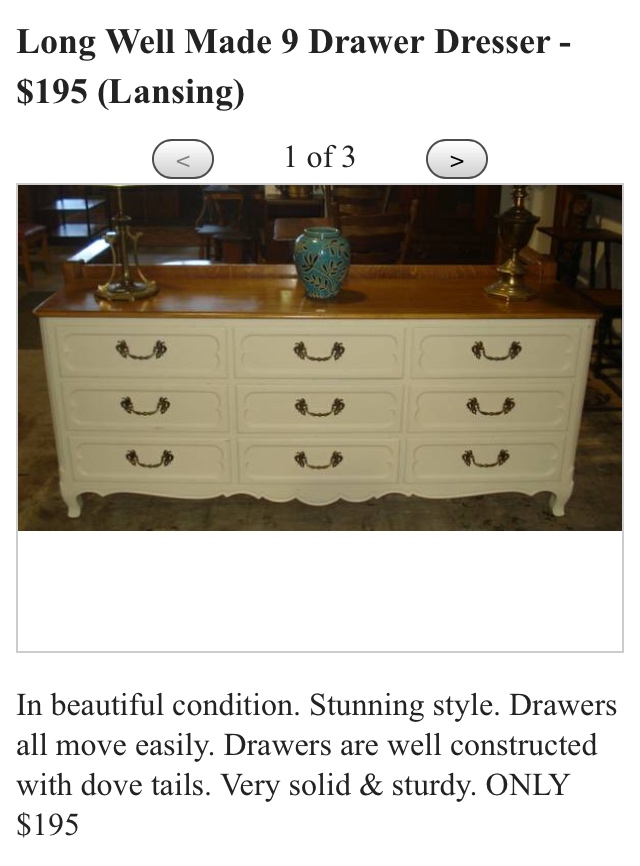
Before I could bring my idea to life, I needed to find the perfect dresser. I spent weeks searching thrift stores and Craig’s List. I knew I wanted an older, longer dresser with a lot of wood details and legs. I pictured turning an older, classic dresser into a bold “Grandma Chic” TV stand. Since I was going to take the top row of drawers out and replace them with a shelf, I needed to find a dresser that allowed me to add this shelf. I finally found the ideal dresser on Craig’s List. It was at a shop outside of Lansing, an hour and half from Detroit. I loved the shape and details. I could instantly image it as my TV stand. When I went to the shop, I negotiated the price to $75 instead of the original $195. While $75 is still pricey for a furniture transformation, I was smitten with the dresser. I could easily imagine it modified, painted and placed in my living room as my TV stand.


Once I got the dresser home, it was time to start transforming it into a TV stand.
Here’s how I made a dresser into a TV stand:
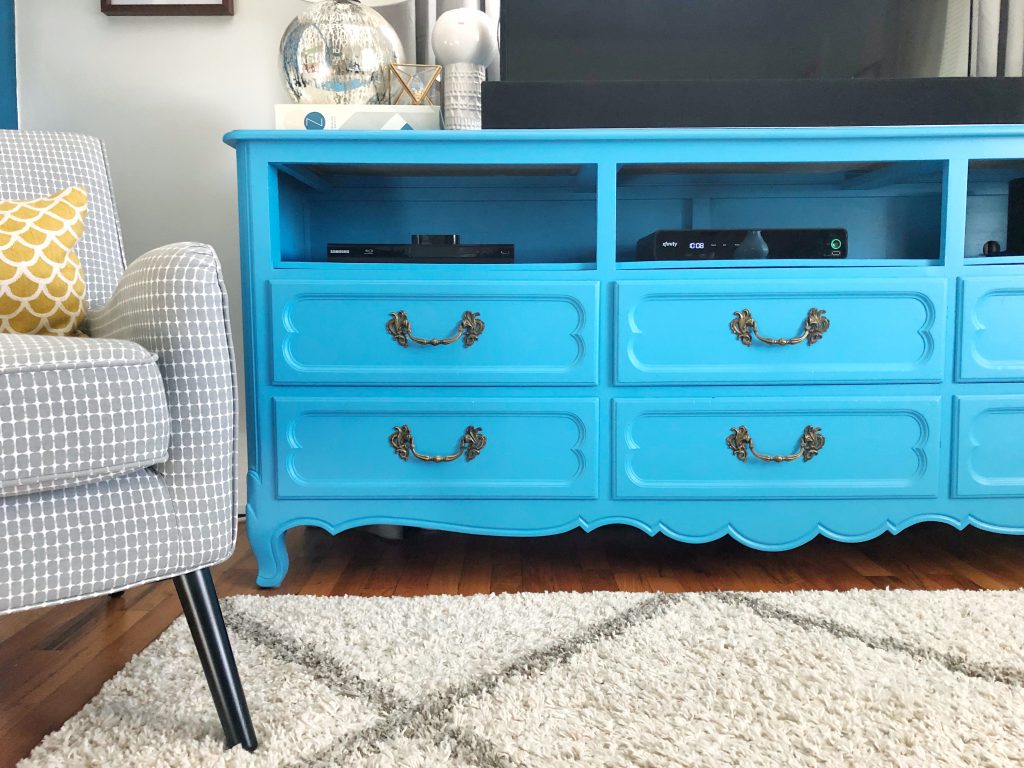
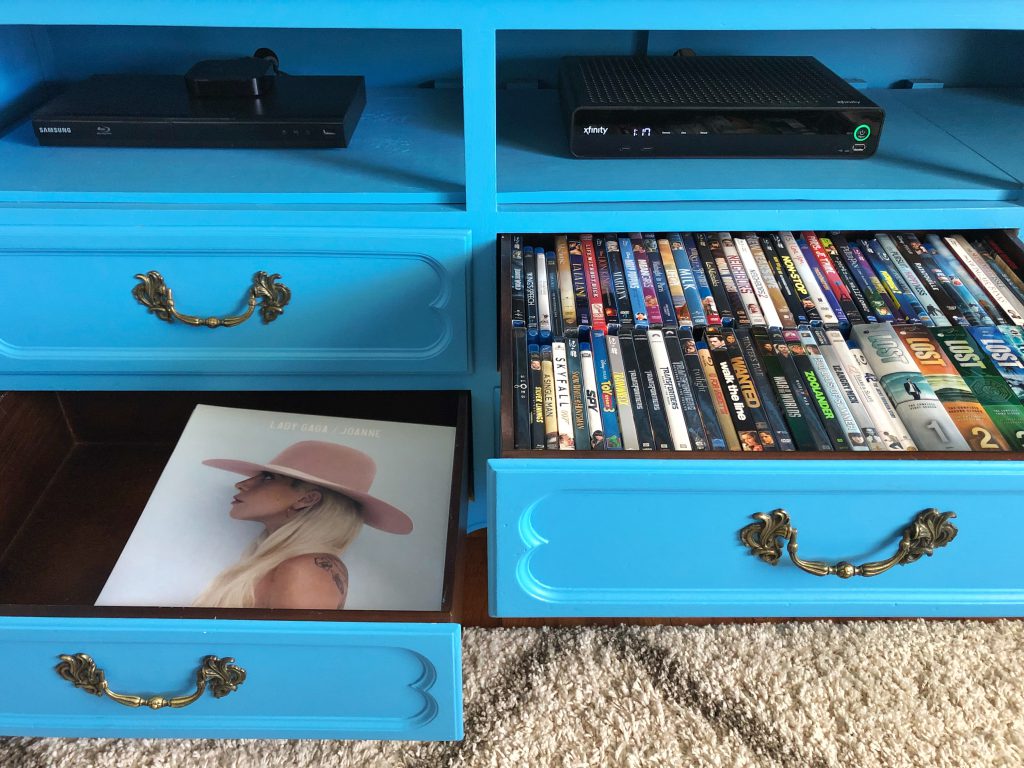
- Remove the top drawers. This space is now going to hold the cable box, DVD player, and any other electronics. Without the drawers or doors, I could hide the electronics but still access the electronics with a remote.
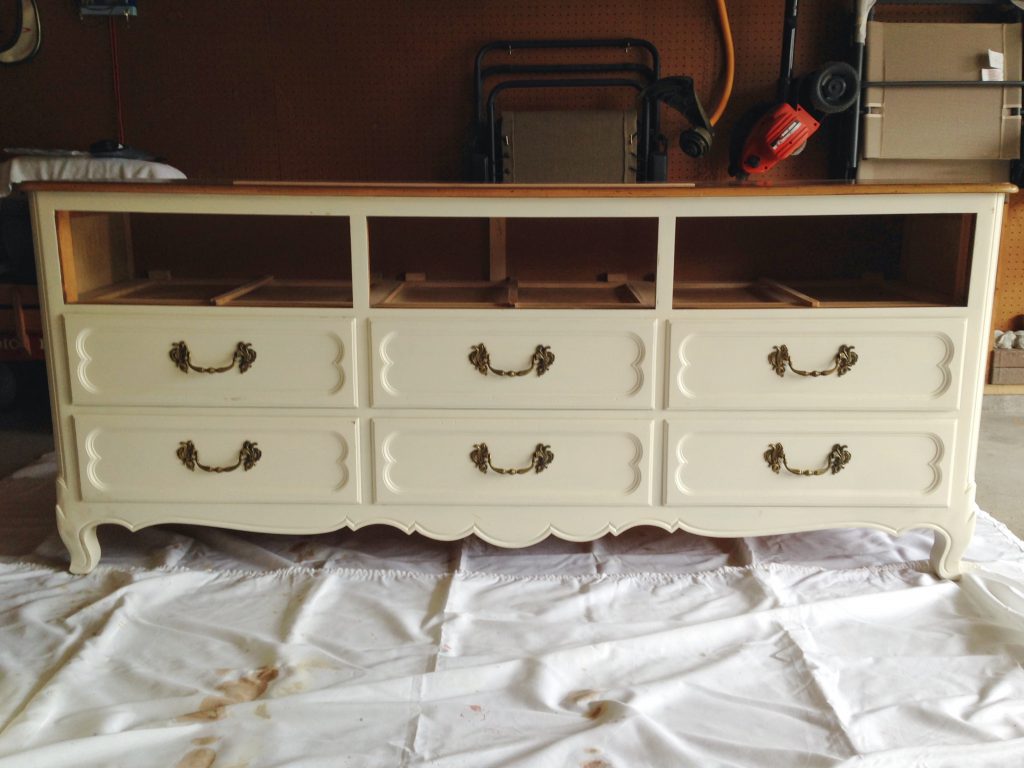
The dresser without the top drawers - Remove the drawer slides and stops from the top drawer compartments. These were glued and nailed into place, but they had to go to make room for the new shelf.
- Remove the other 6 drawers and save them for later. I had 9 drawers, but I only needed 6 drawers. I picked my favorites. I moved the drawers around from compartment to compartment to find the prefect configuration. Once I figured out the best setup and marked the final choices, I set the extra 3 drawers aside for a future project.
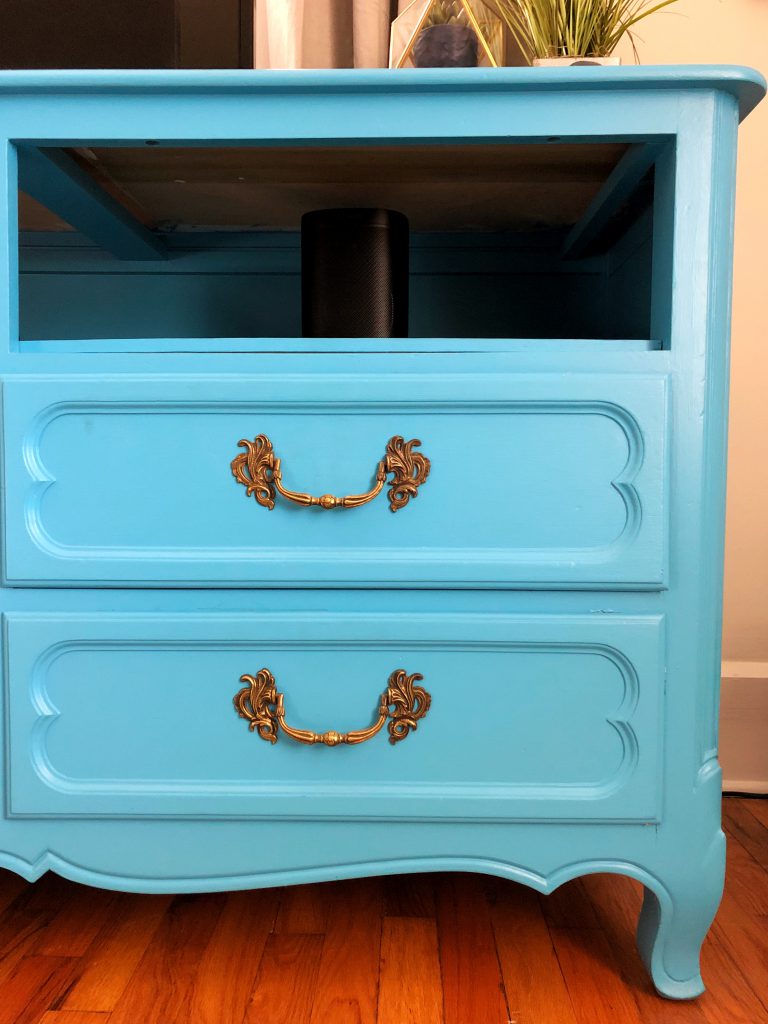
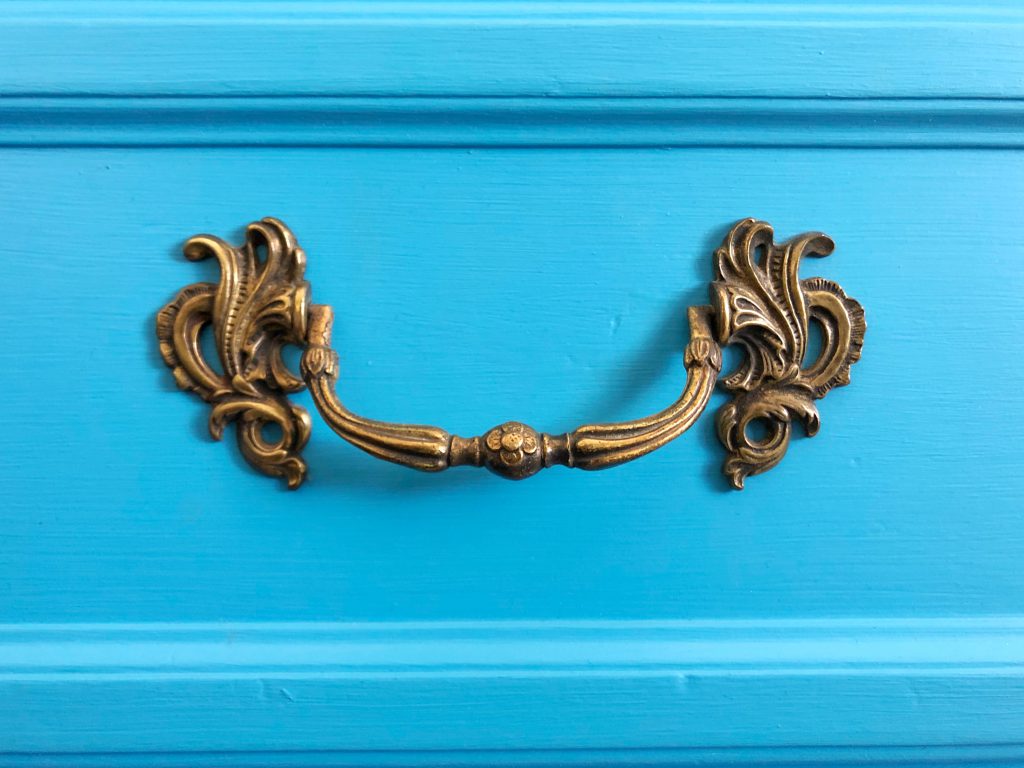
- Remove the hardware from the 6 drawers. I loved the original hardware and I decided to keep them! I carefully removed them and cleaned them up to be reattached later.
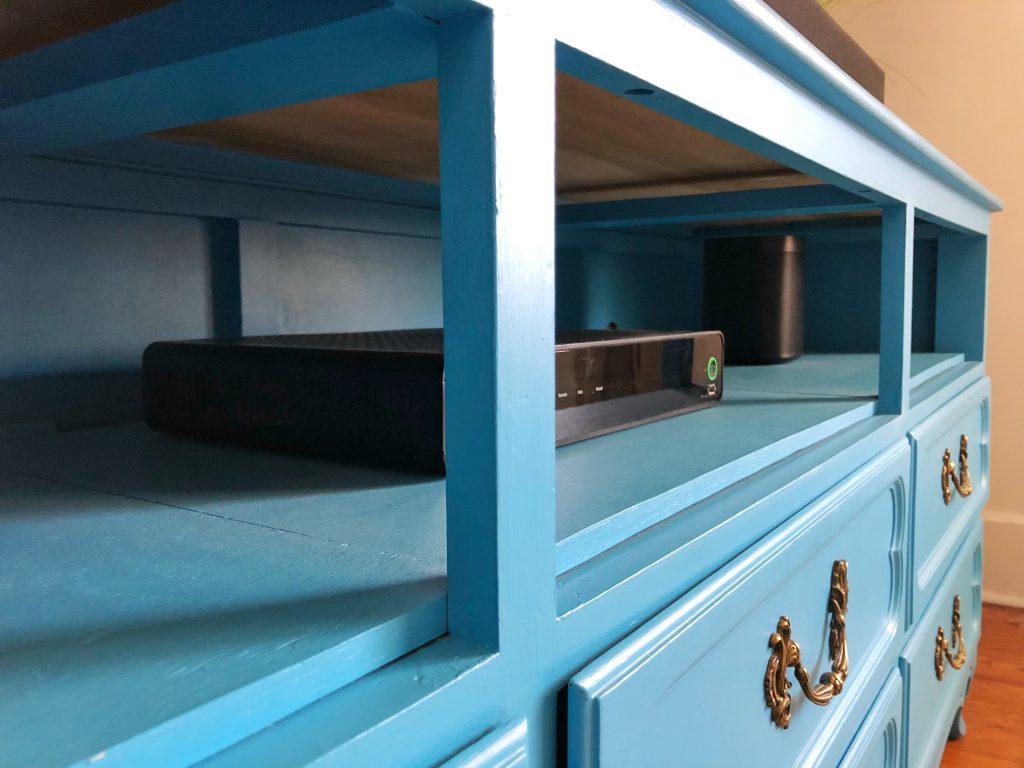
- Create the top shelf. Since the former top row of drawers was now going to be a shelf, I took the dimensions of the new shelf area. By adding a new wood surface, it evened out the area to hold the electronics. One piece of wood was never going to fit, so I split it into three rectangular sections. I picked out 5/8 inch plywood at Home Depot and they were nice enough to cut the wood according to my measurements. When I got home, I made sure the three pieces of wood fit snug into place.
- Drill 3 holes into the back of the dresser for the electronic cords. I drilled three 1.5 inch holes in the back of each drawer compartment. This was large enough to fit a plug through the hole. After, I sanded the edges.
- Add veneer edging to the wood shelves. To clean up the front of the new plywood shelf, I added a veneer edging. I sanded the plywood side smooth and applied the veneer with an iron. It’s a simple and extra step, but it makes a huge difference in the end!
- Prep the dresser for priming. I patched any nail holes and sanded the entire dresser. After, I wiped everything down to remove any dust, lint or other particles before priming.
- Prime the dresser. I used a basic primer and a primed the dresser and plywood it by hand. Looking back, I wish I used a paint sprayer to save time. This was so tedious!
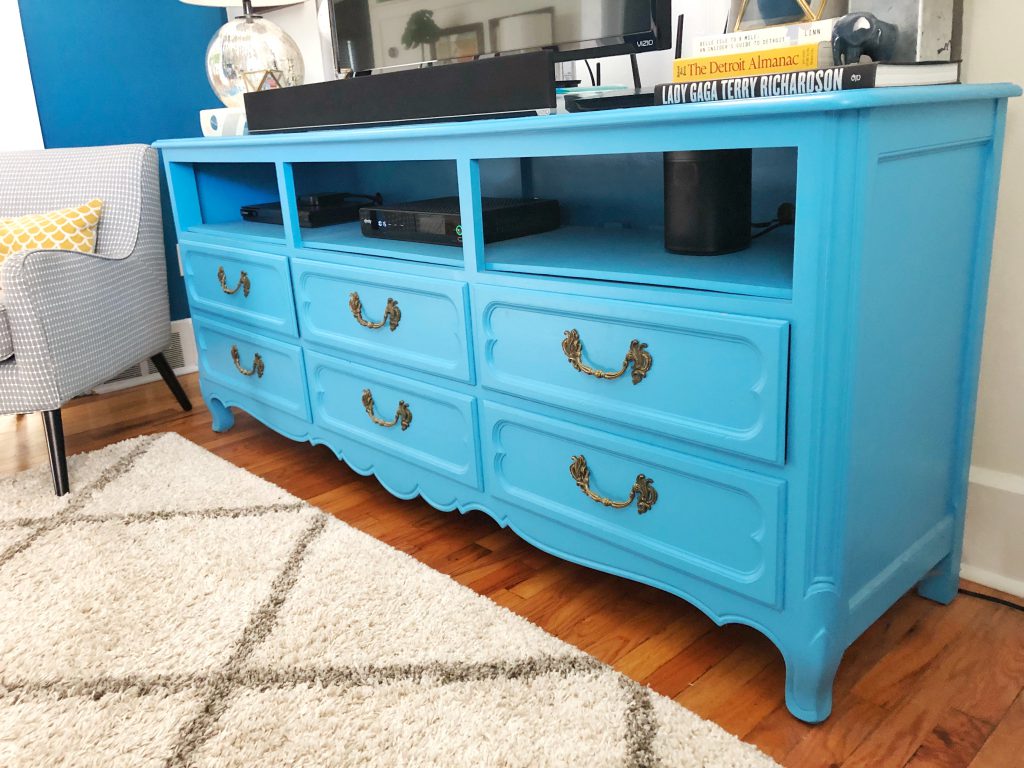
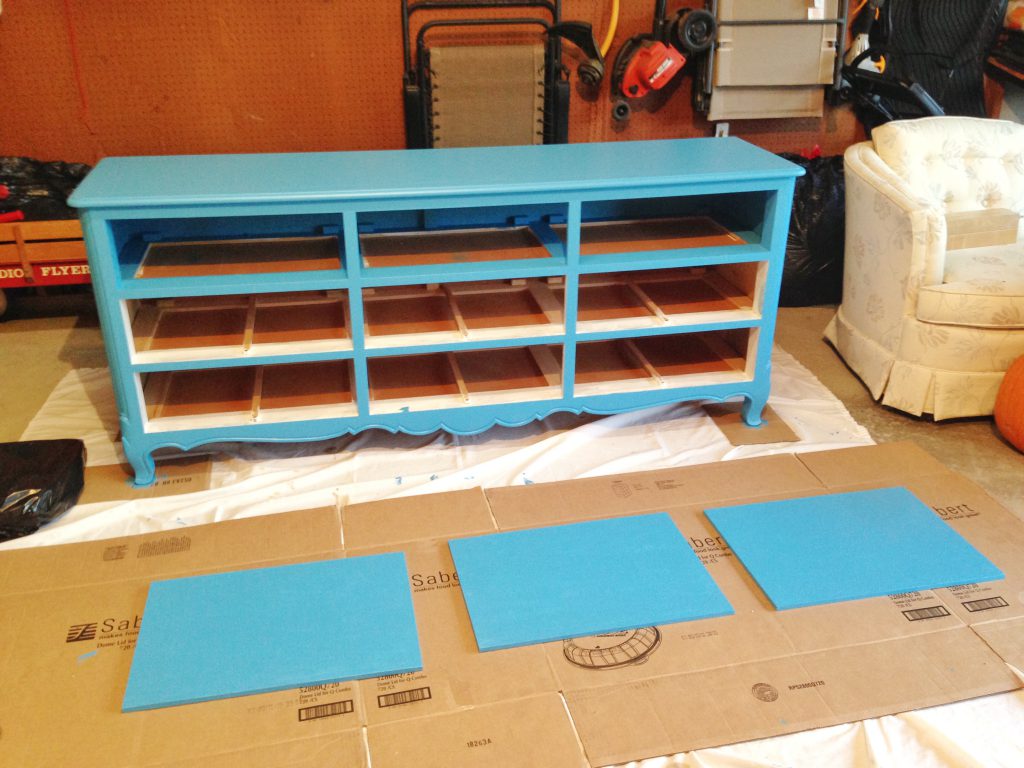
- Paint the dresser and the shelves. Using a standard paint brush, I did two coats of paint on the dresser. I painted the exterior and also the interior of the top shelf. I also painted the plywood shelves. I wanted the new TV stand to stand out with a fun color. I chose Sherwin-Williams Major Blue 6795. At the time, I was about to move into a new apartment with all beige walls. Instead of painting the walls and repainting them when I moved out, I picked this bright blue to liven up the living room. It was a bold choice but it also helped modernize the older looking dresser. Even today, I’m still in love with my color choice!
Painting the dresser and shelves - Once dry, add a clear sealant to the top. I knew people would want to put their drink glasses or keys on it, so I decided to add a clear protection coat on top. I am so glad that I did! Friends are always setting things on it and this protective layer gives me so much peace of mind.
- Add the shelves to the top row. This was the last steps and I thought it was going to be quick and easy. It wasn’t as simple as I thought. After priming and painting the shelves, they expanded and they didn’t fit anymore. Talk about frustrating! A friend came to the rescue and he sanded the sides down slightly with an electric sander. When they came back, they fit like a glove!
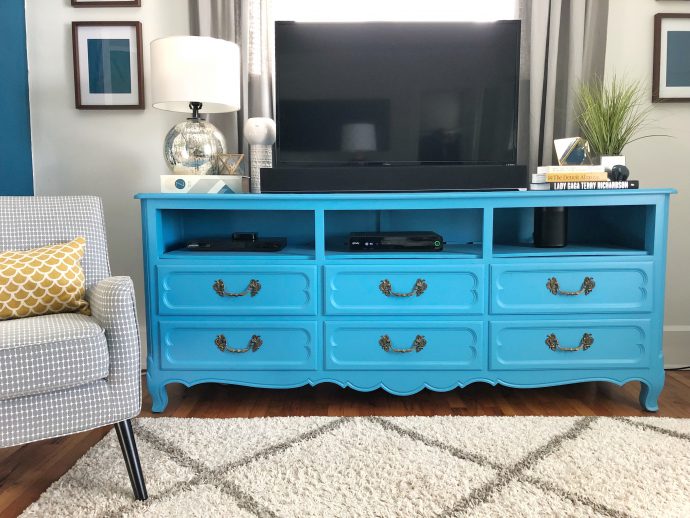
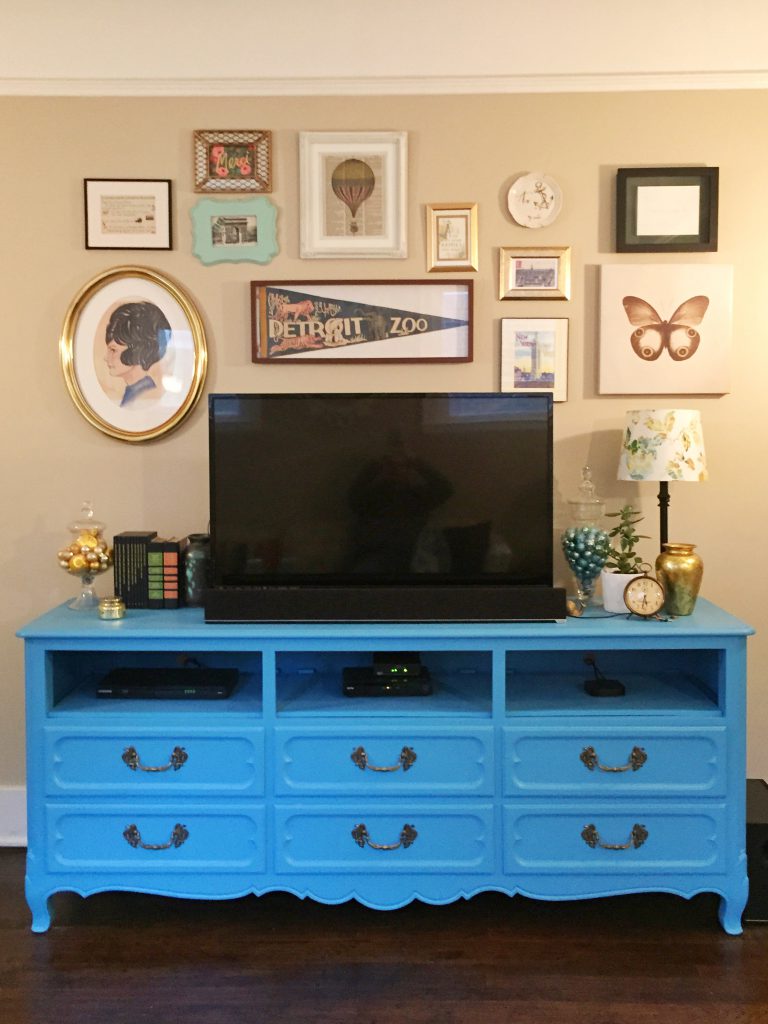
- Add the TV and electronics and enjoy!
When I moved the TV stand into my apartment, I fell in love instantly. It was both beautiful and functional. Plus, it added a pop of color into my boring beige apartment. The color also helped distract from the huge television sitting on top. On the shelf, I added my cable box, DVD player and Apple TV. In the shelves, I stored my DVDs, records, board games, and other things out of sight. It was a great addition to my apartment’s living room!
After a year in my apartment, I purchased 874 West, my first home. When I moved, the TV stand came with me and it took a predominate position in my new living room. I was surprised how easily the TV stand felt at home from the start. It is a versatile piece of furniture and the blue draws attention. As I designed my new living room, I thought about changing the color, but I was and still am in love with the Major Blue. I ended up designing the room around the blue TV stand. Even in my new home, it fits perfectly and adds interest and color. To this day, I cannot image my living room with any other TV stand and I’m still so proud of my work.